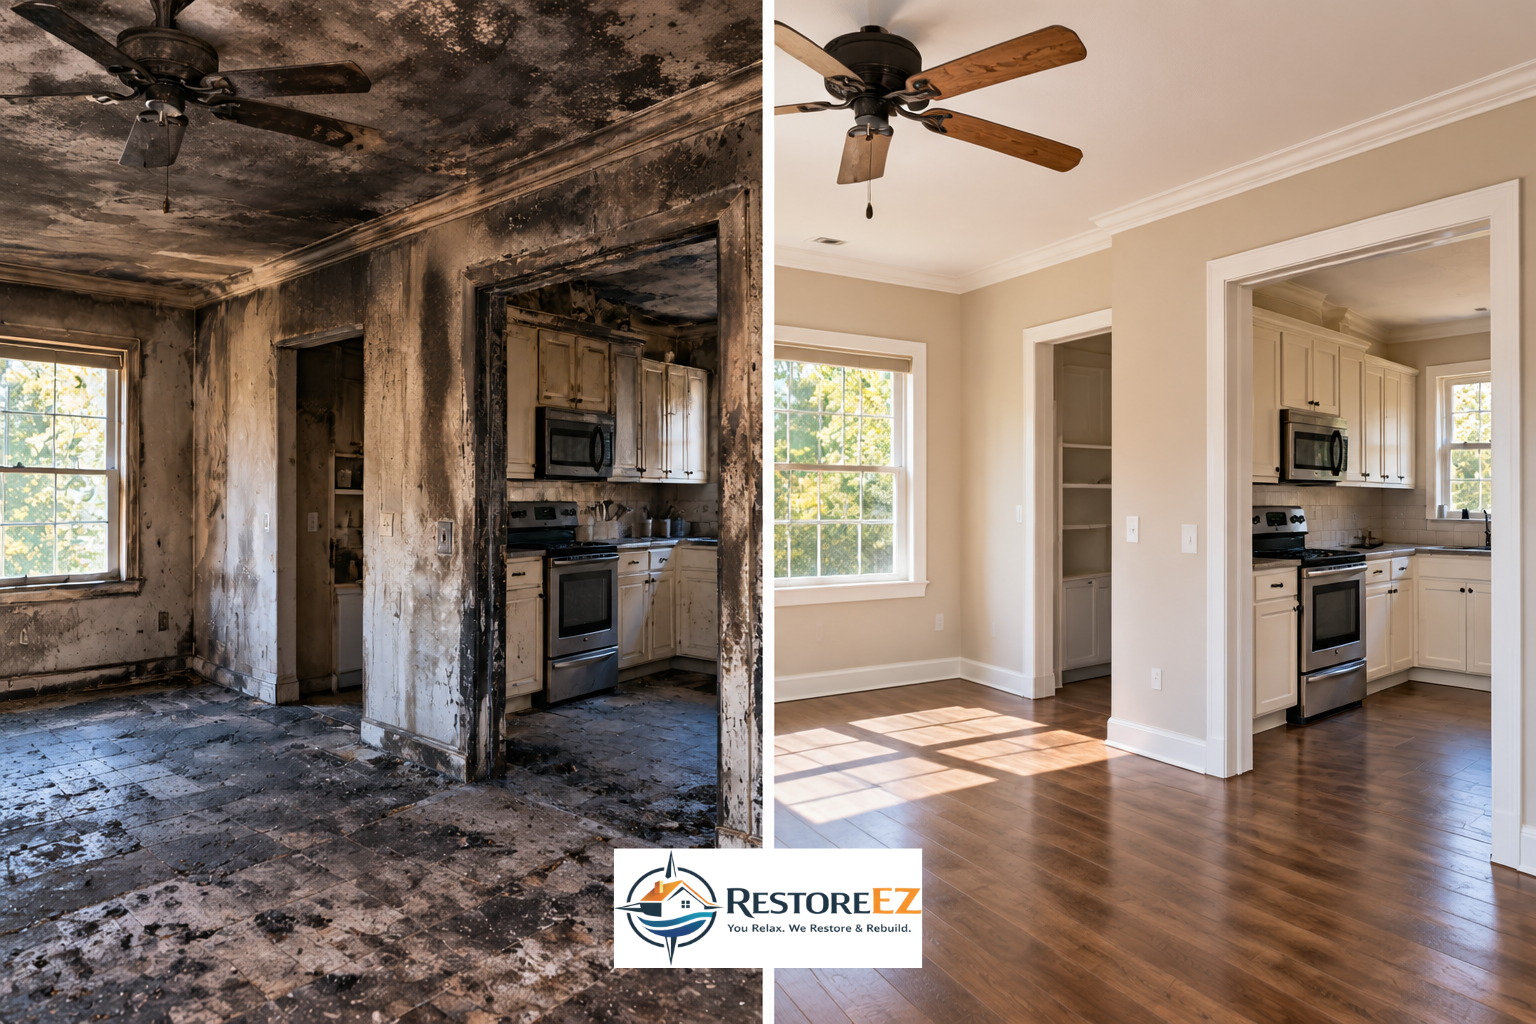
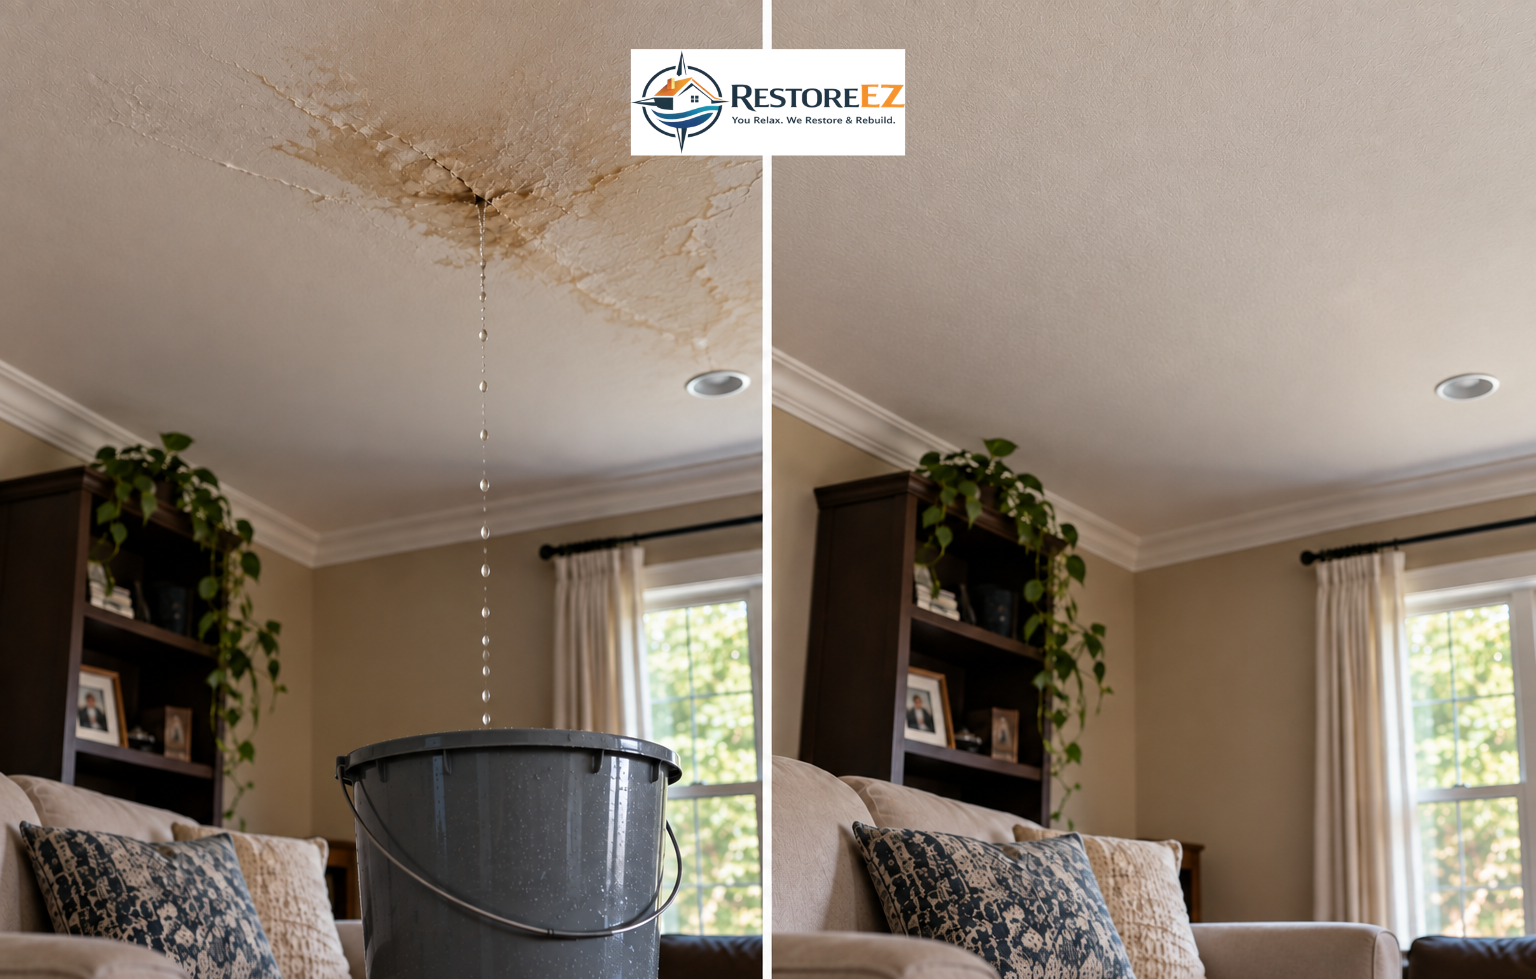
First 24-Hour Water Damage Checklist for Tarpon Springs Homeowners
Water damage can turn your day upside down in no time. Whether it's from a burst pipe, leaky roof, overflowing appliance, or storm, the first 24 hours are crucial. Acting quickly can save your home from more damage, cut down restoration costs, and keep mold from growing.
If you're facing a water problem right now, this guide will help you understand what to do first, what to avoid, and when to call in the pros. You'll also discover how services like water damage restoration, mold inspection, and indoor air quality can help you recover safely. For more on emergency preparedness, check out the Ready.gov floods resource, and the EPA’s mold guide explains why moisture control is key after water damage.
Why the First 24 Hours Are Critical
Water Spreads Quickly
Water doesn't stay put. It seeps under floors, behind walls, into insulation, and through materials like drywall and carpet. A small leak can quickly reach hidden areas, and once moisture gets in, damage can continue even after the puddle dries up. So, stopping the source and limiting the spread should be your first steps.
Delays Cost More
Every hour matters because wet materials break down fast. Wood swells, metal rusts, adhesives fail, and drywall weakens. The longer the water sits, the more likely you'll need major repairs instead of just drying and cleaning up. Quick action can save your cabinets, floors, and more from needing replacement.
Mold Can Form Quickly
Moisture left after a leak can lead to mold. According to the CDC, mold can start growing within 24 to 48 hours. Water damage cleanup isn't just about removing visible water; it's also about preventing mold from becoming a bigger problem. If you think there's hidden moisture, it's smart to schedule a mold inspection before you notice smells or stains.
Step 1: Keep People Safe and Stop the Leak
Safety First
Your first concern should always be safety. If water is near outlets, appliances, or electrical panels, don't go near it until it's safe. Water and electricity are dangerous together, and even a little moisture can be risky. If the water involves sewage, contaminated floodwater, or structural issues, leave the area and call professionals.
Shut Off Water and Utilities
If you can safely reach the source, turn off the main water supply to stop more damage. Sometimes it might be necessary to turn off electricity to affected areas, but only if you can do it safely. If you're unsure, call a licensed electrician or restoration professional. Quick action here can make a big difference.
Document the Damage
Before you move things around, take photos and videos of the source, the affected area, and any damaged belongings. This documentation can help with insurance claims and provide a clear timeline of events. Capture wide angles and close-ups to show the extent of the damage.
Step 2: Call the Experts Early
When to Call Pros
If the water damage is more than just a little spill, it's wise to call a restoration service quickly. Professional teams use moisture meters, extraction equipment, dehumidifiers, and air movers to dry things properly. For fast help, Restoreez offers water damage restoration for homes and businesses.
Florida's Humidity Matters
In humid climates, moisture can be tough to manage. Florida's warm temperatures and high humidity can speed up deterioration. Professional drying methods remove water and control humidity until everything is safe. Don't rely on fans alone.
Finding Hidden Damage
Visible water is only part of the issue. Skilled professionals know how to check behind baseboards, inside cabinets, and under floors where moisture lingers. If there are issues like smoke, mold, or air quality concerns, services like indoor air quality testing and mold remediation might be needed. A coordinated response avoids incomplete drying and future problems.
Step 3: Start Safe Water Removal
Remove Water Safely
If the area is safe, you can start limited water removal while waiting for help. Use towels, mops, buckets, or a wet vacuum for small, clean-water incidents. Focus on shallow standing water, but avoid extensive cleanup if the water is deep, contaminated, or still coming in.
Move Important Items
Move furniture, electronics, papers, and sentimental items to a dry spot. Put aluminum foil or wood blocks under furniture legs to prevent staining. Lift curtains, remove books from wet shelves, and separate damp textiles to help them dry evenly.
Don't Overdo It
It's tempting to tear out soaked materials immediately, but that might not be best. Some things can be dried and saved if handled quickly. Others need careful removal by professionals to avoid spreading contamination or causing more damage.
Step 4: Dry the Area Thoroughly
Increase Airflow Properly
After removing excess water, dry surfaces and hidden spaces quickly. Open doors and windows if possible, and use fans to move air across wet surfaces. Professional drying equipment works better than household fans because it focuses on removing moisture, not just surface evaporation.
Use Dehumidifiers
Dehumidifiers pull moisture from the air, speeding up drying and preventing humidity from re-entering walls and floors. Without them, water can cycle back into porous materials. Restoration teams monitor humidity and moisture levels to keep the drying process on track.
Check Hidden Areas
Drying visible surfaces is just part of the job. Wall cavities, insulation, and crawl spaces often trap moisture. If you notice musty smells, peeling paint, or soft flooring, water might have moved deeper than visible. In such cases, services like air duct cleaning and air duct sealing may be needed if the HVAC system is affected.
Step 5: Decide What Can Be Saved
Porous Materials Absorb Fast
Carpet padding, insulation, and some drywall soak up moisture quickly and might not dry safely if left too long. The longer they stay wet, the more they risk odor, mold, and weakening. A restoration expert can help decide if removal is necessary or if drying in place is an option.
Hard Surfaces Might Be Salvageable
Tile, sealed hardwood, and metal parts can often be cleaned and saved if acted on quickly. However, subfloors or framing underneath might still need attention. Visible recovery doesn't always mean the issue is resolved.
Look for Warning Signs
Watch for warped floors, soft spots, discoloration, or persistent odors. These signs mean water might still be present. If you see these, get a detailed assessment and consider a mold inspection if the area remains damp or smells musty after drying.
Step 6: Protect Indoor Air Quality
Moisture Affects Air Quality
Water damage affects more than just your home’s structure; it can also change the air quality by raising humidity and spreading odors. As materials break down, particles can become airborne and irritate lungs or sinuses. Quick moisture control is crucial, especially for those with allergies or asthma.
Filter and Ventilate
If the HVAC system is exposed, evaluate it before use. Contaminated ductwork can spread damp air and debris. Professional air duct cleaning can help, and indoor air quality services can ensure the environment is safe. Avoid masking smells with air fresheners, as odors can indicate unresolved moisture.
Monitor Sensitive Groups
Watch for symptoms like coughing or headaches in children, older adults, or those with respiratory issues. If symptoms appear, reduce exposure and continue drying. Seek professional help if the air quality doesn't improve.
Step 7: Smart Insurance Handling
Keep a Damage Log
Write down what happened, when, who you contacted, and what actions you took. Include estimates, receipts, photos, and communication with your insurer or restoration company. This makes claims easier and supports quick repair decisions.
What Insurers Look For
Insurance companies want evidence of the source, extent, and timing of damage, and whether you acted quickly. Prompt mitigation helps both the property and the claim. Your restoration provider can guide you through documentation if needed.
Track Temporary Repairs
If you place tarps, move furniture, or use drying equipment, keep those details in your records. Temporary repairs are part of responsible mitigation and prevent further damage. Note any discarded items due to contamination.
Common Mistakes After Water Damage
Waiting to See What Happens
Don't wait to see if a leak will dry up on its own. Water damage rarely fixes itself, and hidden moisture often worsens. What seems minor on day one can become a big issue by day three or four. Immediate action is safer.
Using Only Fans and Bleach
Fans help move air but don't remove moisture. Bleach isn't a universal fix, especially on porous surfaces, and doesn't address hidden water. Professional drying and remediation treat both visible and hidden problems. If mold is present, a proper mold remediation plan is safer.
Ignoring Odors and Stains
Musty smells, yellowing, and dark spots are warning signs not to ignore. They often indicate moisture or organic breakdown. If odors persist after drying, have the area checked again. Lingering smells are an early clue of hidden damage.
When to Call Restoreez
After Any Significant Water Event
If the damage is widespread, the source is unknown, or the water is contaminated, call professionals. Restoreez offers fast-response mitigation, water extraction, drying, and restoration to bring your property back to normal.
When Mold or Air Quality Concerns Arise
If you notice musty smells, spotting, or worsening air quality, water damage might be evolving into a bigger problem. Services like mold remediation, indoor air quality evaluation, and mold inspection can help. Addressing these issues early limits damage and cost.
When You Need a Coordinated Plan
Water damage often affects multiple areas, especially after storms or plumbing failures. A full response might include drying, debris removal, air quality improvement, and repairs. Restoreez can coordinate this process so you don't have to manage everything alone. For more support, check out their weatherization program to reduce future moisture risks.
FAQs About the First 24 Hours After Water Damage
How Soon Should I Act?
Immediately. The key steps are stopping the source, ensuring safety, and starting drying or calling professionals. The longer the water lingers, the higher the risk of structural damage and mold growth.
Can I Use a Regular Vacuum?
No. Regular vacuums aren't made for water and can be a shock hazard. Use a wet vacuum if it's rated for liquids and safe, or wait for professional help.
Is It Safe to Stay Home?
It depends on the source and severity. Clean water might be manageable, but sewage, stormwater, or strong odors may require leaving temporarily. If unsure, get a professional evaluation before staying.
What If I Suspect Mold?
Don't scrub the area. Avoid spreading spores and call for a mold inspection and, if needed, mold remediation. Early action prevents a small issue from growing.
Final Thoughts: Fast Action Saves Your Home
The first 24 hours after water damage are about quick decisions, safety, and preventing hidden problems. Stop the source, document the damage, remove standing water safely, and start drying. If it's more than a minor spill, call a restoration team to handle extraction, drying, odor control, and inspections.
When you need trusted support, Restoreez is ready to help with water damage restoration, mold remediation, and recovery services in the Tampa Bay area. For immediate help, call (813) 703-0300 or visit restoreez.com. Acting now saves time, reduces stress, and protects everyone's health in your home.